Label:Yes
Brand New And High Quality
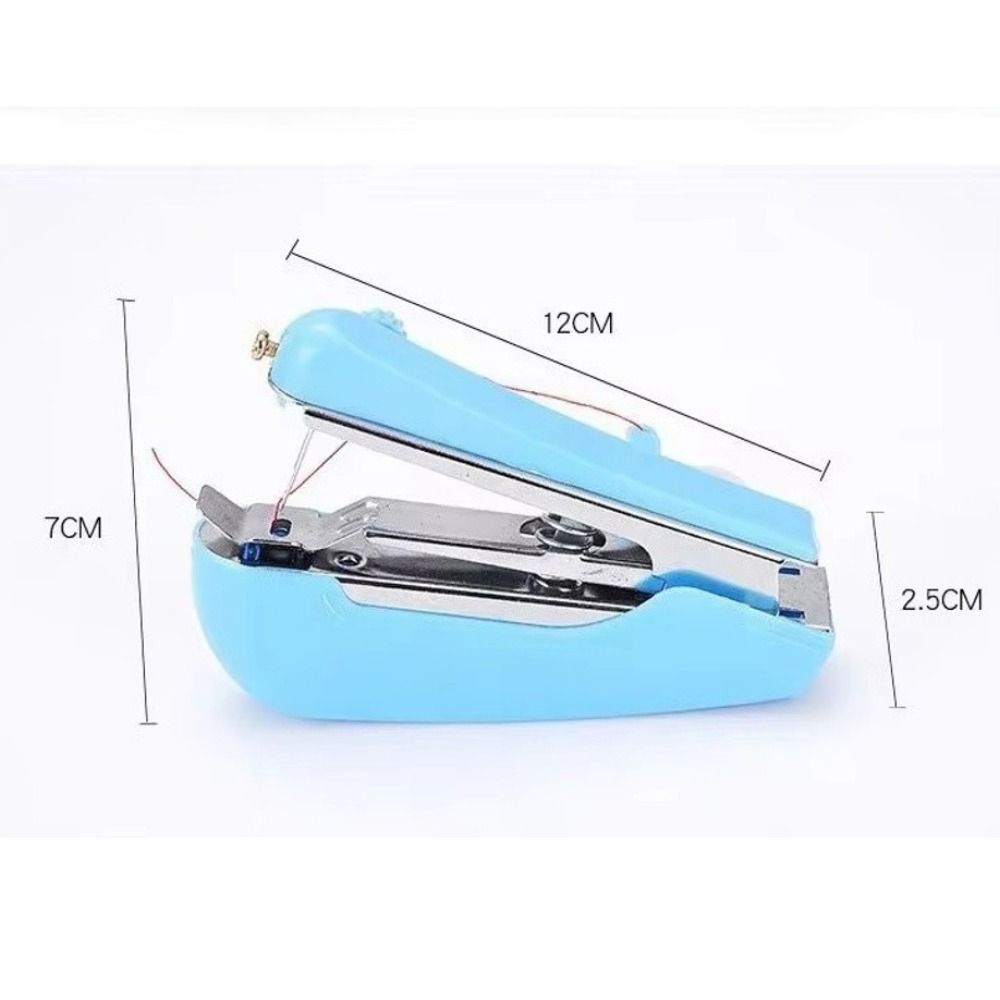
Size:12×7×2.5cm/4.72×2.76×0.98in
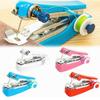
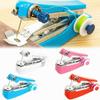
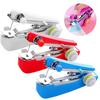
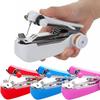
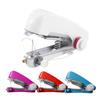
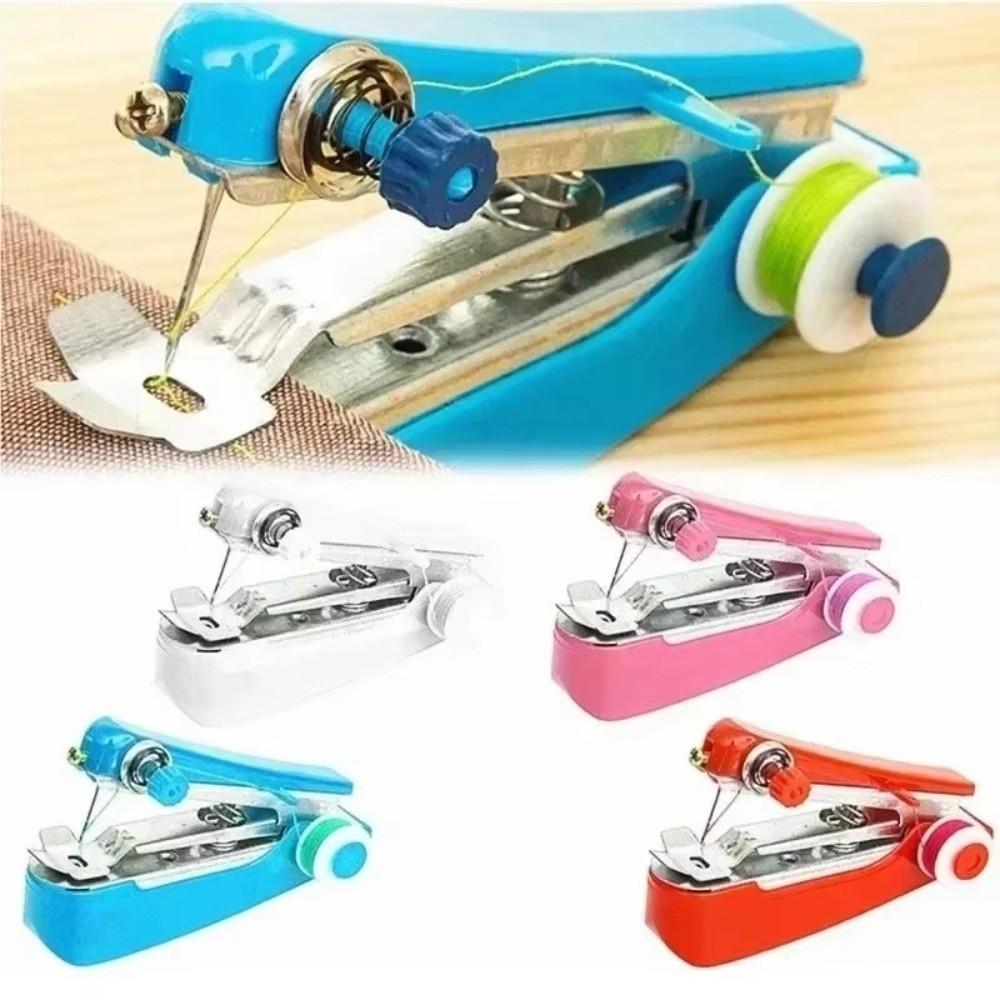
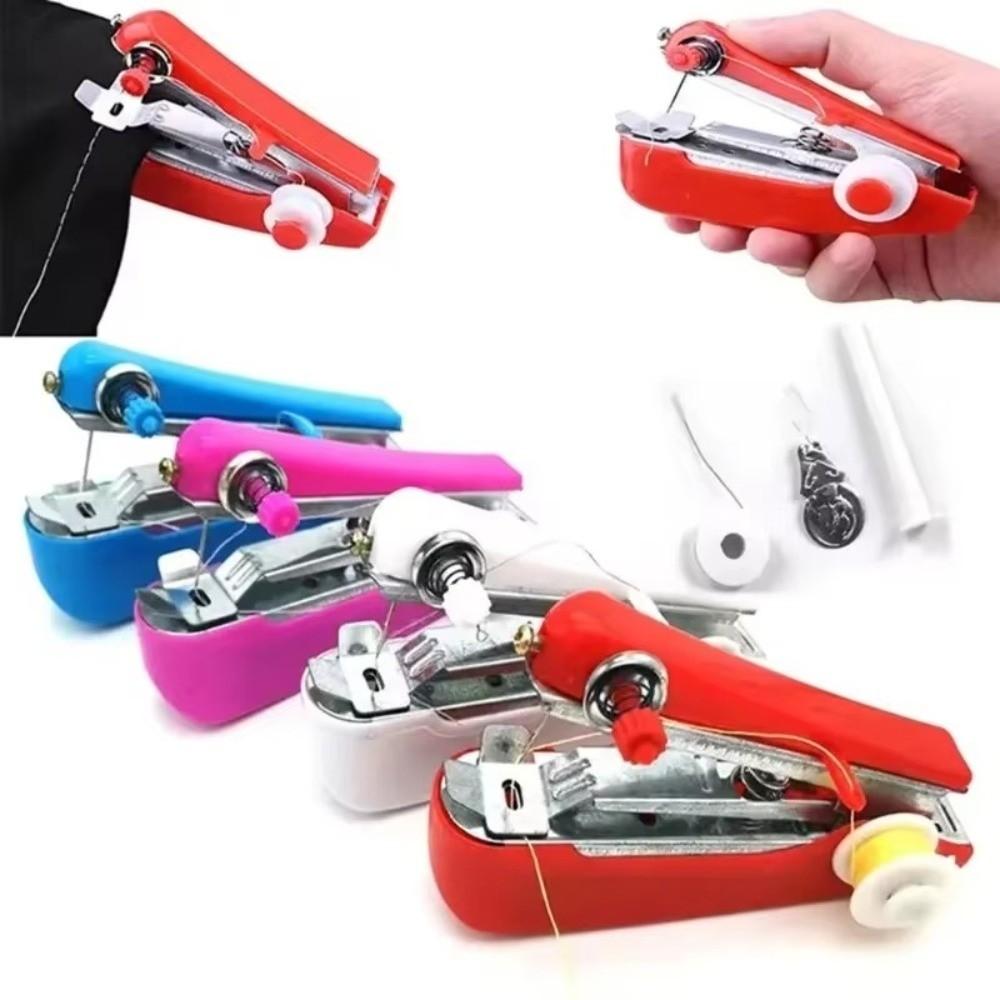
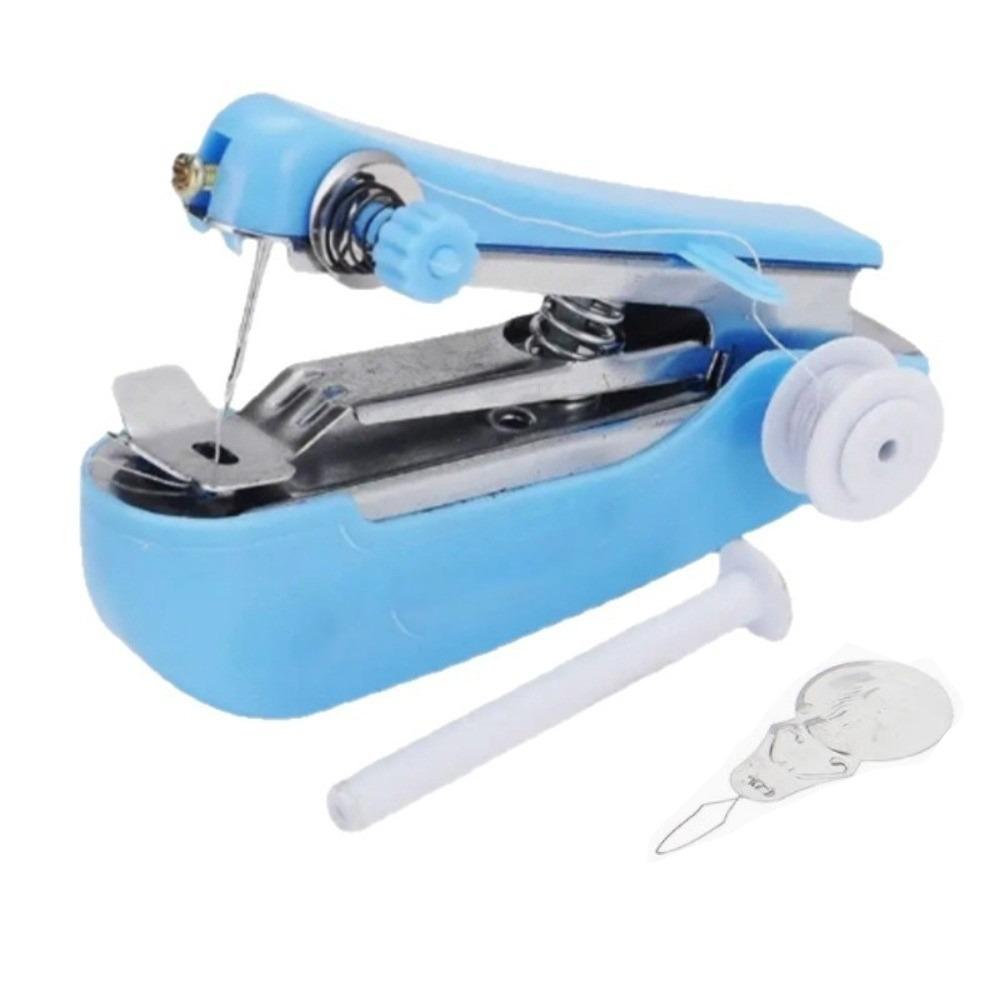
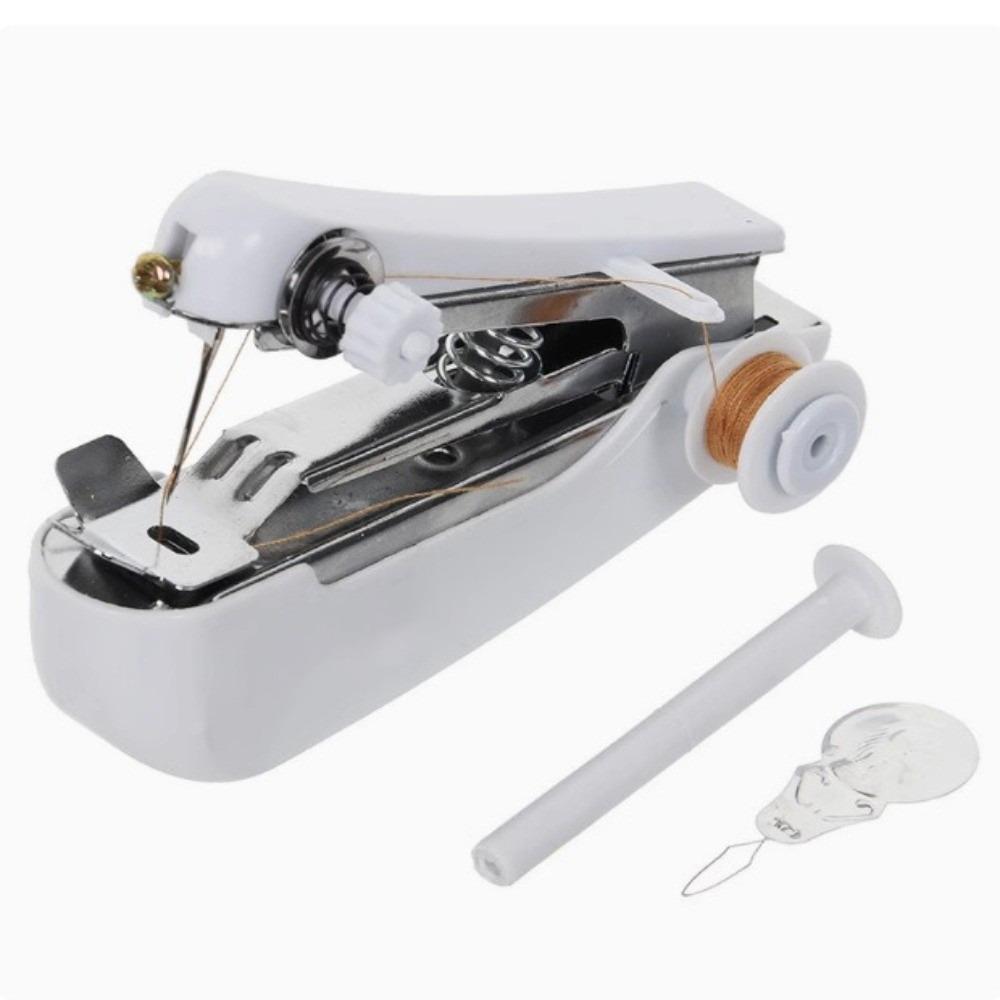
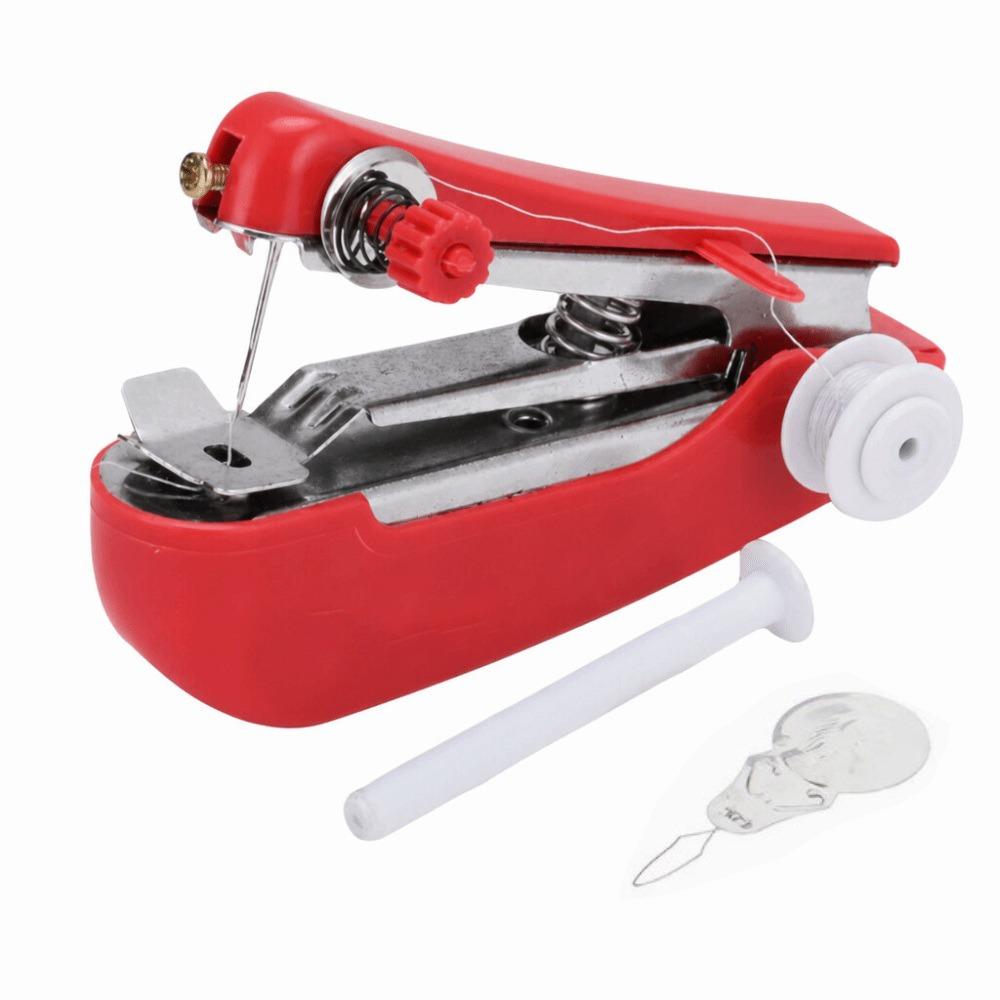
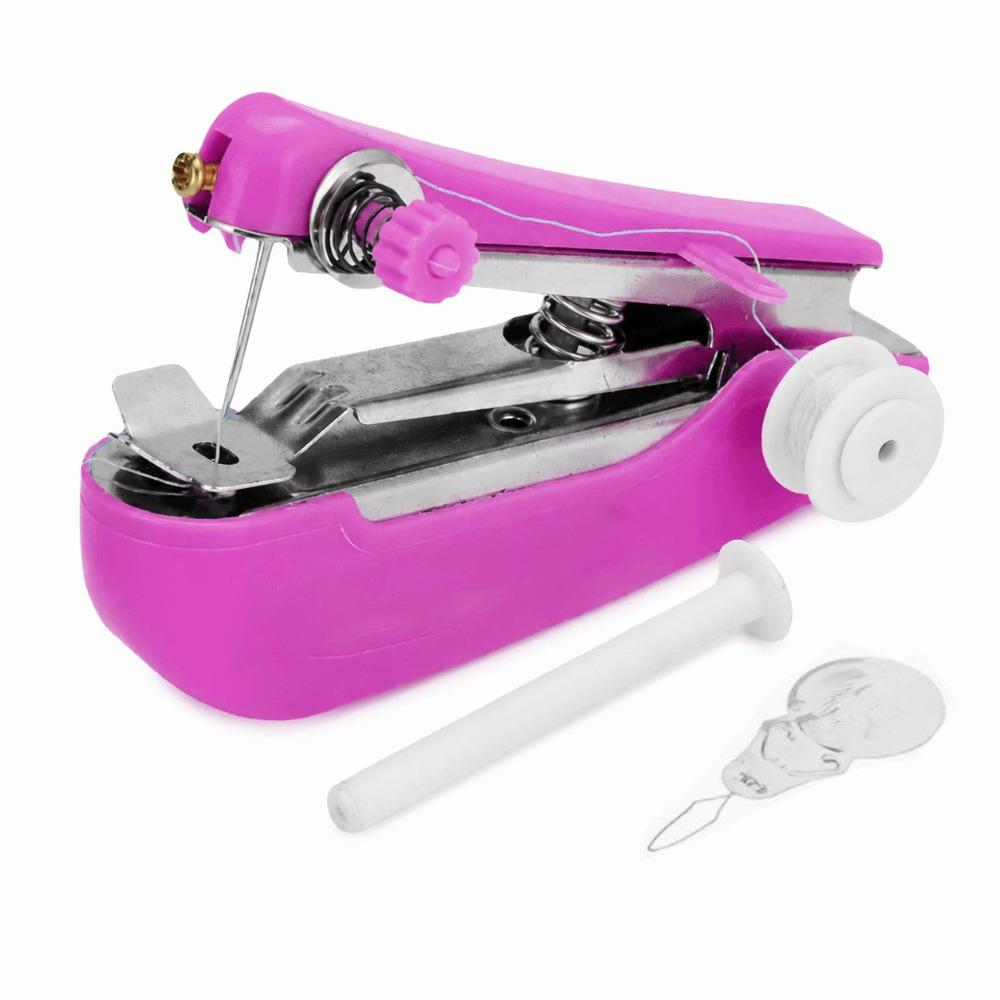
Color:White,Red,Blue,Pink
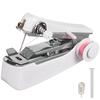
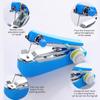
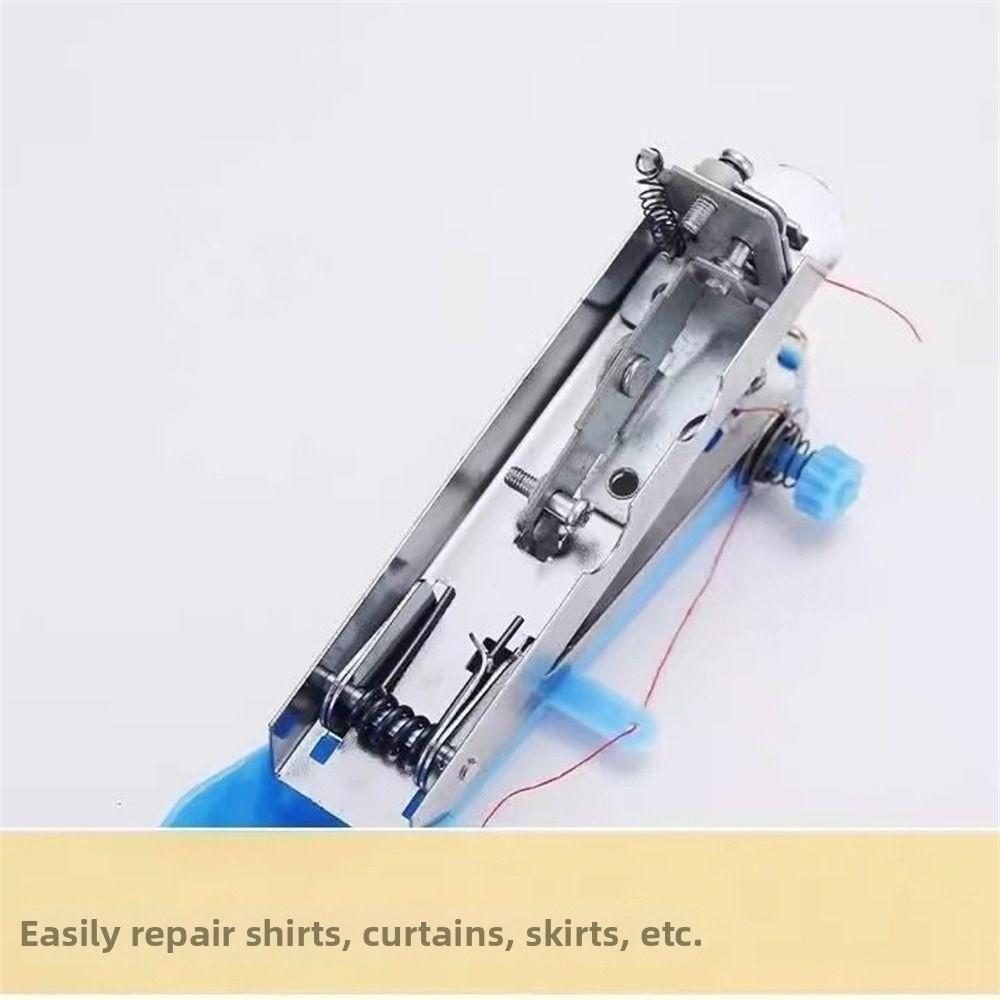
Name: Portable Mini Handheld Manual Sewing Machine
Material: Durable ABS Plastic + Precision Metal Mechanism
Features: Manual Operation Without Electricity, One-Hand Easy Control, Wide Application For Multiple Fabrics, Pocket-Sized Portable Design
Type: Household Multifunctional Hand Sewing Tool
Package Includes:
1 X Mini Manual Sewing Machine
Features:
1.Ultra-Portable Compact Build: Measures Only 12×7×2.5cm/4.72×2.76×0.98in With Lightweight Body, Easy To Slip Into Bags Or Drawers, Perfect For Home Use And On-The-Go Emergency Mending During Travel.
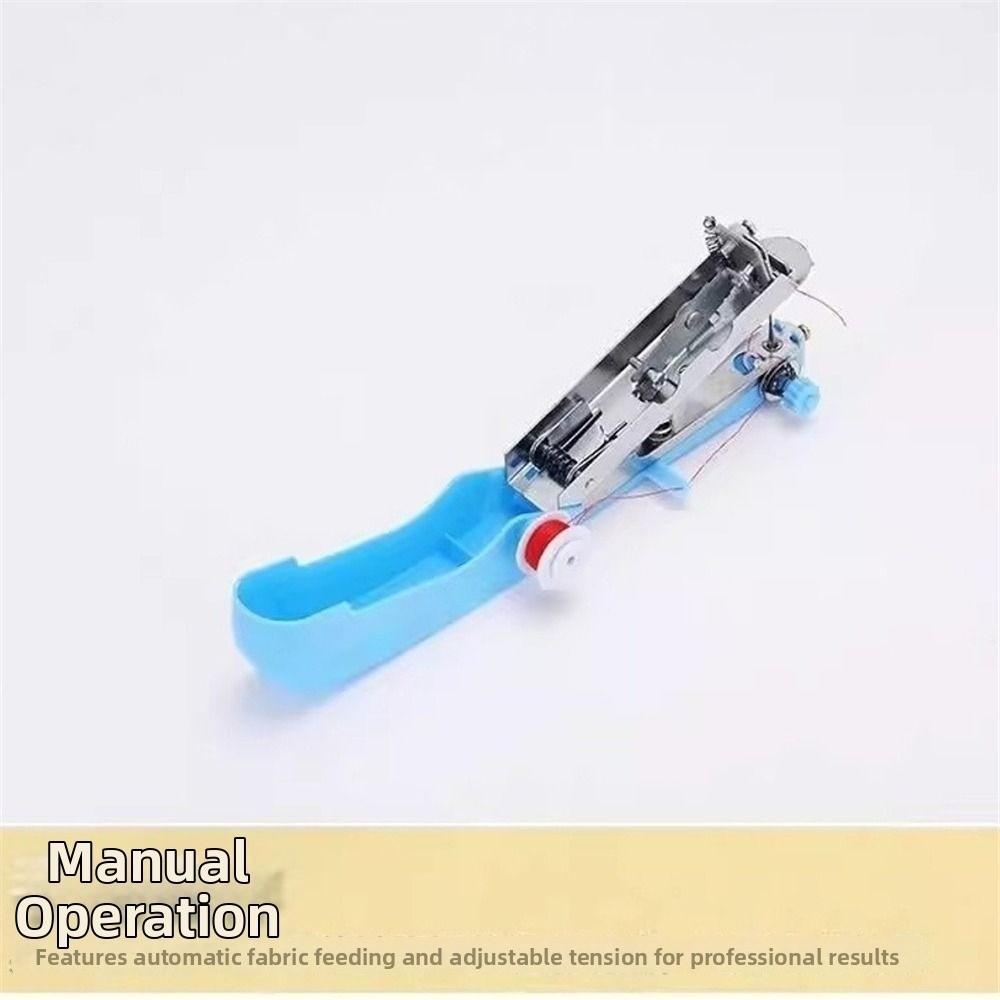
2.Electric-Free Manual Operation: Powered By Pure Manual Pressing Action, No Battery Or Plug Needed, You Can Do Stitching Anywhere At Any Time Without Worrying About Power Limits.
3.Beginner-Friendly Simple Operation: Ergonomic Curved Handle Fits Palm Comfortably, Just Load Thread And Press Down To Finish Stitching, No Complex Professional Skills Required For New Sewing Learners.
4.Strong Adaptability For Fabrics: Works Well For Thin To Medium-Thick Materials Like Clothes, Curtains, Tablecloths And Diy Handcrafts, Meeting Most Daily Household Mending Demands.
5.Sturdy Durable Structure: Adopts Wear-Resistant Metal Stitching Core And Tough Plastic Outer Shell, Long Service Life For Frequent Daily Use, Stable Stitching Without Easy Thread Jumping.
6.Wide Usage Scenarios: Ideal Gadget For Daily Clothing Rips Repair, Craft Diy Projects, Travel Backup Sewing, Dormitory Use And Gift Giving For Handcraft Lovers.
Correct Operation Instructions For Mini Handheld Sewing Machine:
1.Hold The Machine: Support The Machine Base With The Four Fingers Of Your Right Hand, Rest Your Thumb Naturally On The Top Cover Of The Machine, And Hold The Whole Device Steadily.
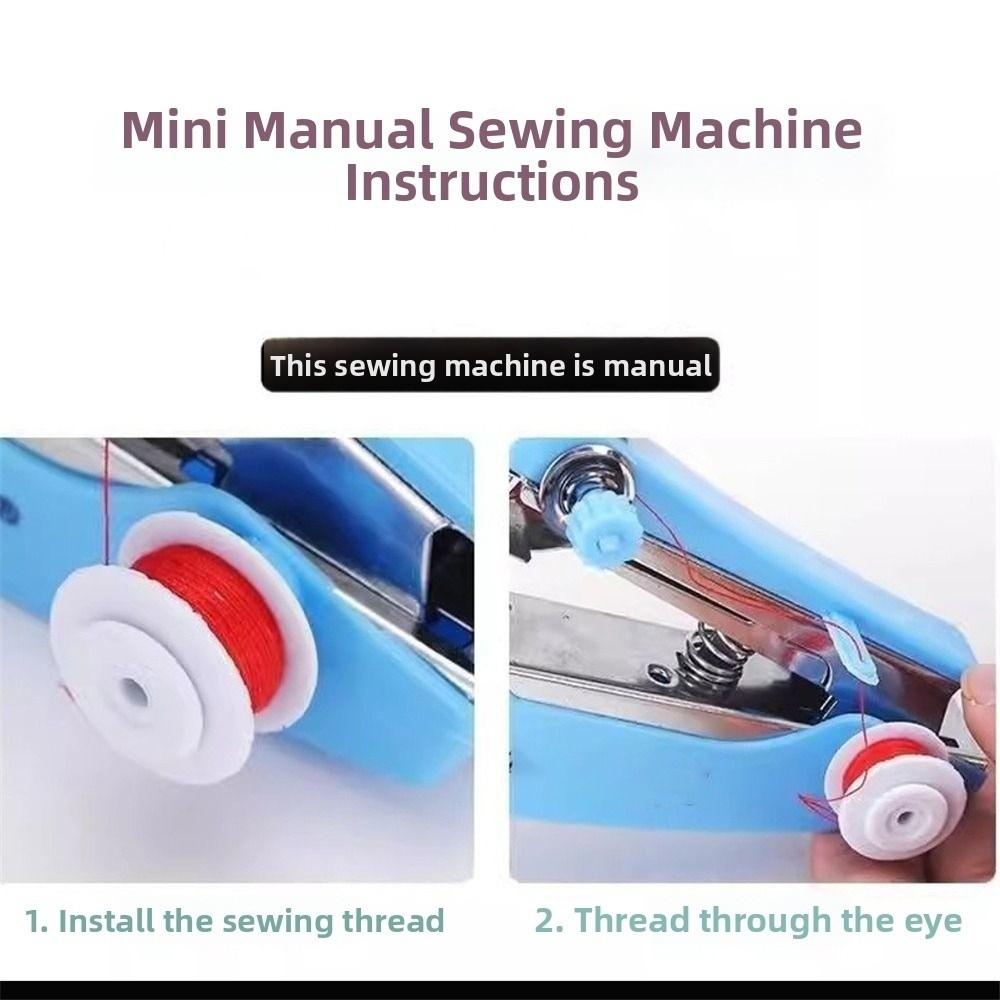
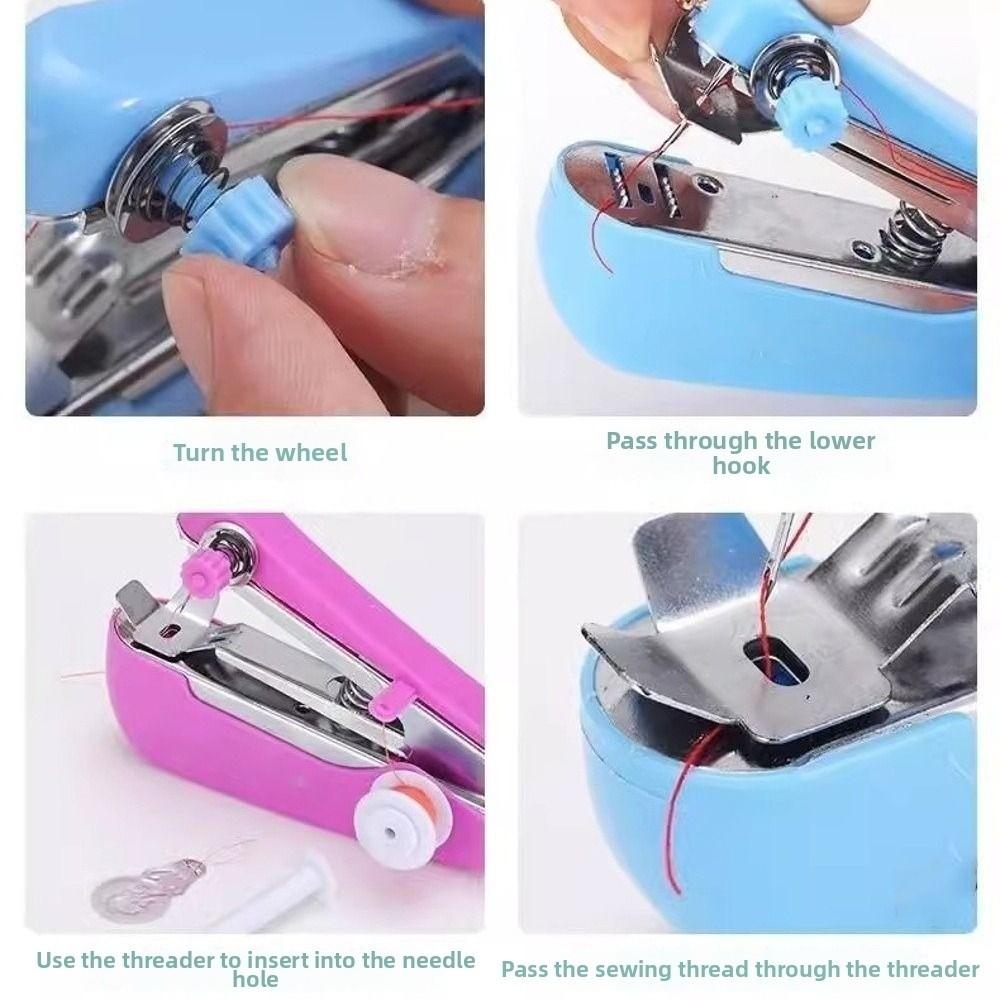
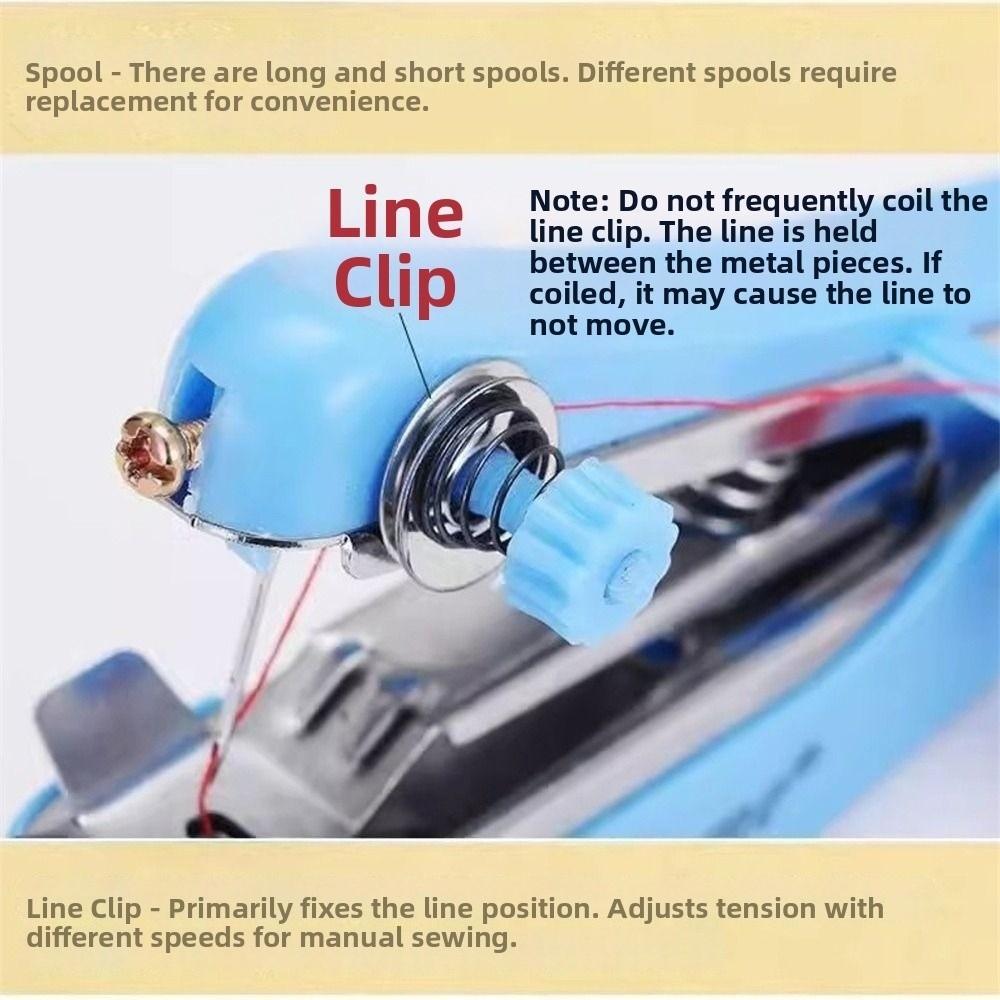
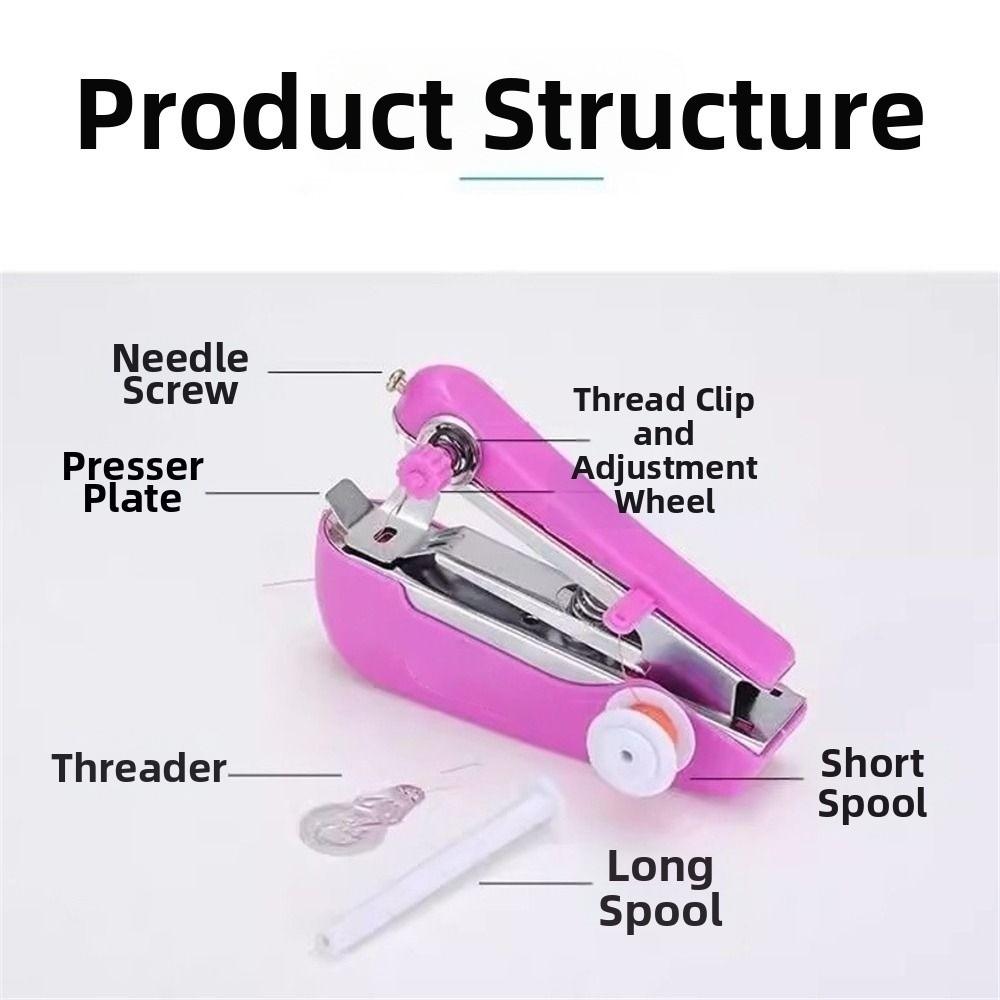
2.Threading: Gently Pull Out The Thread From The Spool. Pass The Thread Through Thread Guide A, Then Lead It Into Thread Tension Regulator B, And Then Thread Through Thread Guide C. Leave The Thread End Beside The Needle For Temporary Storage. Next, Pass The Threader Through The Needle Hole From The Front Of The Needle (Toward The Machine Joint), Guide The Thread End Into The Small Hole Of The Threader, Pull Out About 2-3 Centimeters Of Thread By Retracting The Threader, And Press The Thread With The Presser Foot For Standby Use.
3.Place Fabric: Lift The Presser Foot With The Index Finger Of Your Right Hand, Lay The Prepared Fabric To Be Sewed (Thickness Shall Not Exceed 0.8mm) Flat Under The Presser Foot, Then Gently Lower The Presser Foot To Clamp The Fabric.
4.Sewing Operation: Hold The Fabric With Your Left Hand, Quickly Press The Top Cover All The Way Down With The Thumb Of Your Right Hand, Then Press Down The Thumb Again, Repeat This Action. The Fabric Feeding Mechanism Will Automatically Feed The Fabric To The Left. Slowly Shift The Right Hand Holding The Machine To The Right, And Cooperate With The Sewing Rhythm To Lightly Pull The Fabric To The Left With Your Left Hand Until Sewing Is Completed.
5.Finish Sewing: Cut The Thread End With Scissors After Sewing, Lift The Presser Foot Gently And Take Out The Fabric. Pull The Thread End Out From The Reverse Side Of The Sewed Fabric, Thread It Through The Adjacent Thread Loop, Tighten And Tie A Knot To Secure The Stitches. Do Not Use Hard Sharp Objects To Snap The Thread End After Sewing, To Avoid Damaging The Needle And Needle Hole.
6.This Machine Features Automatic Fabric Feeding And Adjustable Stitch Tightness. Please Note The Following Important Points:
A. If Stitches Are Too Tight, Turn The Pressure Nut Slightly Counterclockwise.
B. If Stitches Are Too Loose, Turn The Pressure Nut Slightly Clockwise.
The Diagram Shows The Proper Tightness Of Stitches. Pull The Fabric Slightly Faster With Your Left Hand For Wider Stitches; Pull The Fabric Slightly Slower For Denser Stitches.
7.Replace Thread Spool: When Using A Large Thread Spool, Connect The Spool Extension Rod To The Spool Shaft And Fit The Large Spool Onto It. Cover The End Of The Extension Rod With The Spare Plastic Cap To Secure The Large Spool, Then Re-Thread The Machine, Adjust Thread Tension And Start Sewing. It Works Great With No.50 To No.90 Cotton Thread Or Synthetic Mixed Thread.
8.Change Needle: Loosen The Fixing Screw And Take Out The Old Needle. Install The New Needle As Shown, Ensure The Flat Side Of The Needle Faces The Fixing Screw (Do Not Install It Backwards). The Applicable Needle Model Is DHK-14.
Tips:
Due To The Light And Monitors Effect, Colors May Have Lightly Difference.
Please Allow Slightly Size Errors Due To Manual Measurement. Thank You For Your Understanding!


 No-delivery refund