Feature:
1. Interactive Learning Experience: Each card features a unique function, allowing kids to easily follow along with our painting robot. This simple, hands on approach makes learning fun and engaging.
2. Gift Idea for Kids: This educational robot toy is suitable for children aged 3 and up. It s suitable for kids who love to draw, need screen time limits, or have special needs.
3. Enhances Key Skills: Children can create their own art cards and interact with the robot, fostering skills like hand eye coordination, creativity, problem solving, and writing while having fun.
4. A Confidence Building Companion: This educational robot simplifies home learning, acting as a patient teacher that repeats instructions until mastery. Its friendly voice enhances kids self esteem and confidence.
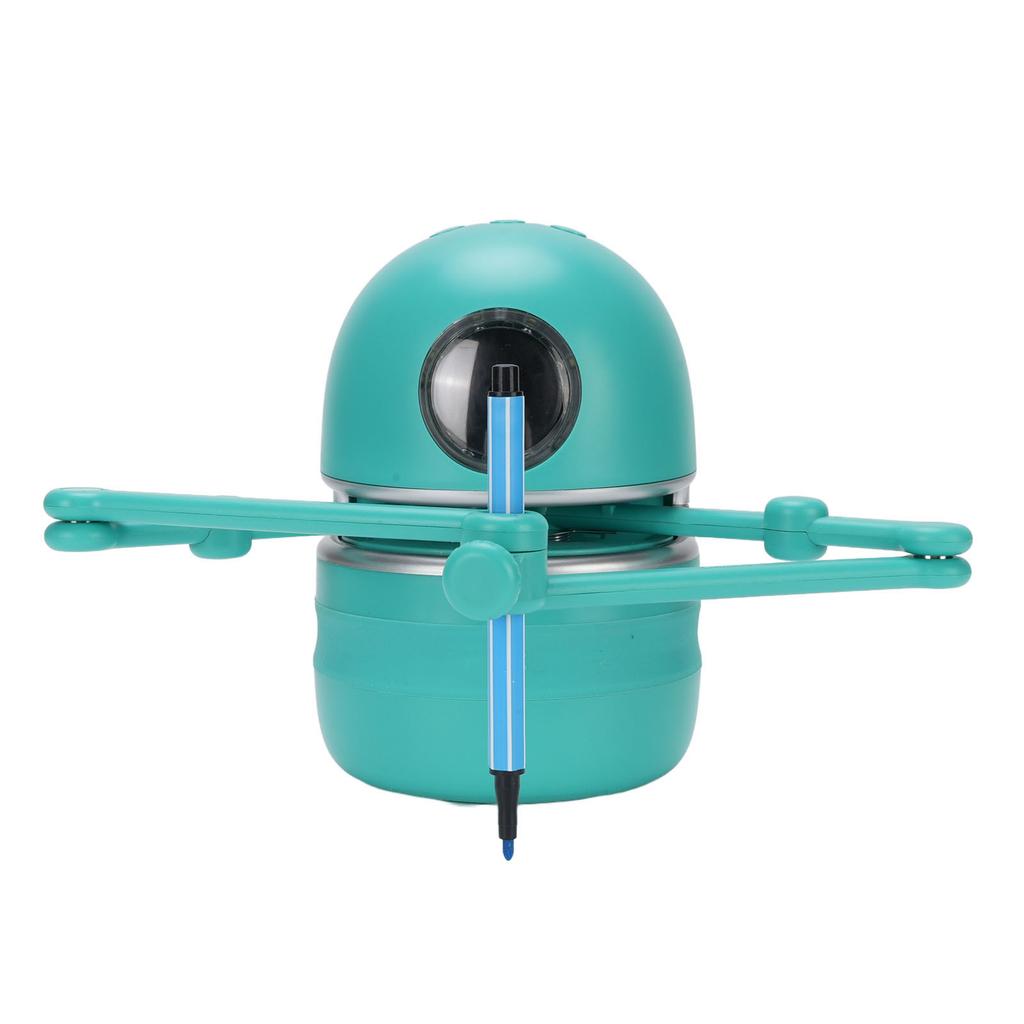
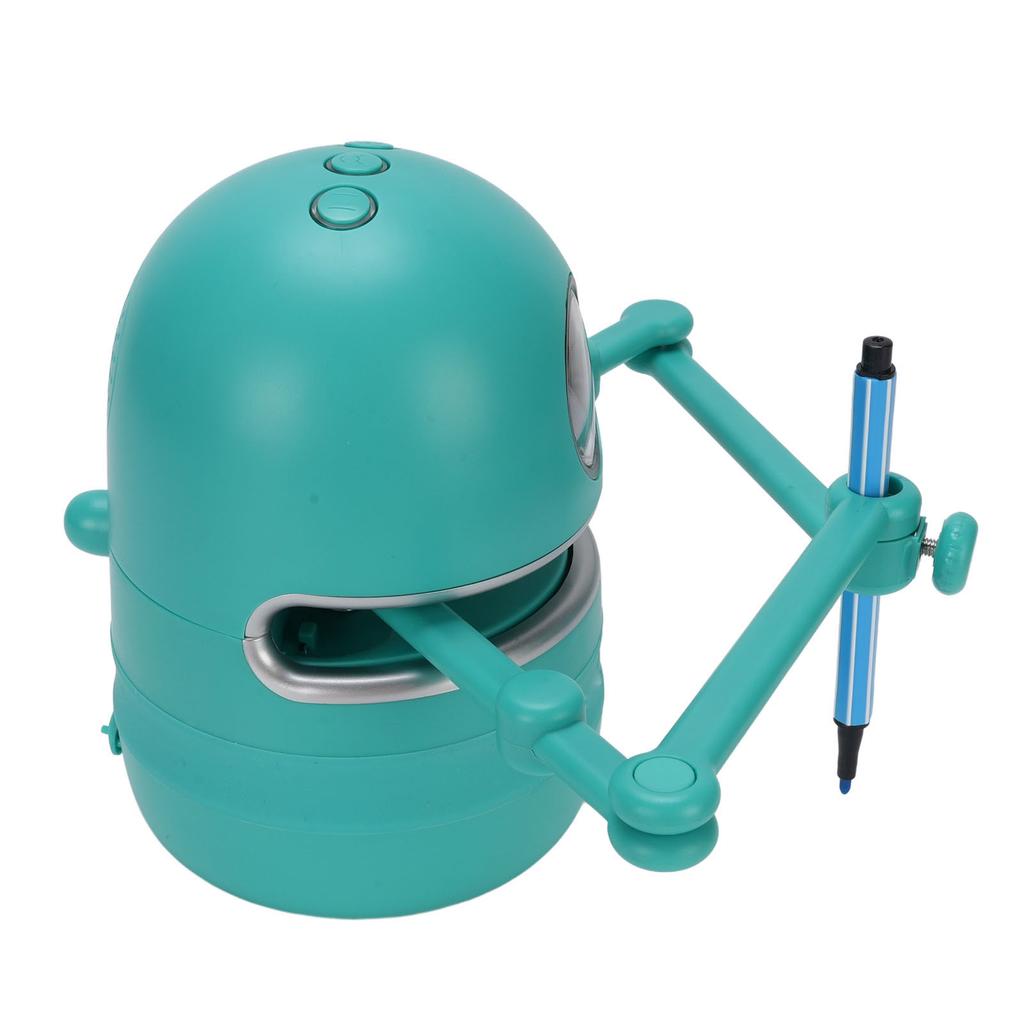
5. Versatile Drawing Capabilities: The robot can draw on various appearances, including paper and whiteboards. Its unique magnetic arm mimics human writing and drawing, making creativity limitless.
Specification:
Item Type: Interactive Educational Drawing Robot
Material: Plastic
Battery: Built in Li Battery 2600MAH
Size: Approx. 15x10x10cm 5.91x3.94x3.94in
Age Range: 3 years and above
Material: Plastic
Memory Card: Includes Memory Card
Structure: Magnetic Adsorption, Easy Assembly, Disassembly and Storage, Magnetic Adsorption Pad for Fixing the Robot
Fault Examples:
1. Unsatisfactory Drawing Effect
2. Poor Effect after Drawing for a Long Time
3. Unable to Charging
4. No Response when Powering On
5. Only Stop Light is On when Powering On
6. Card Recognition Failure
7. Arm Installation Precautions
Common Solutions:
1. Check if the drawing arm is securely attached to the device s arm and adjust or reinstall the drawing pen according to the manual.
2. It is recommended to restart the device to avoid offsetting the pen s origin position due to external forces during drawing.
3. Make sure the power cord is properly inserted or the charging cable is functioning normally.
4. The device may be out of power, please charging it timely.
5. Check if the memory card is inserted properly and reinsert it.
6. Make sure it is in drawing preparation status or the QR code is aligned with the camera.
7. First, reset the pen and run it to the pen loading position, then press any key to lift the arm. At this point, the pen can start drawing by swiping another card, let the pen fall naturally into the pen hole, make the pen sleeve stuck at the top end of the arm, and then tighten the screw.
Weight: Approx. 823.00g 29.03oz
Set Up Robot Arm:
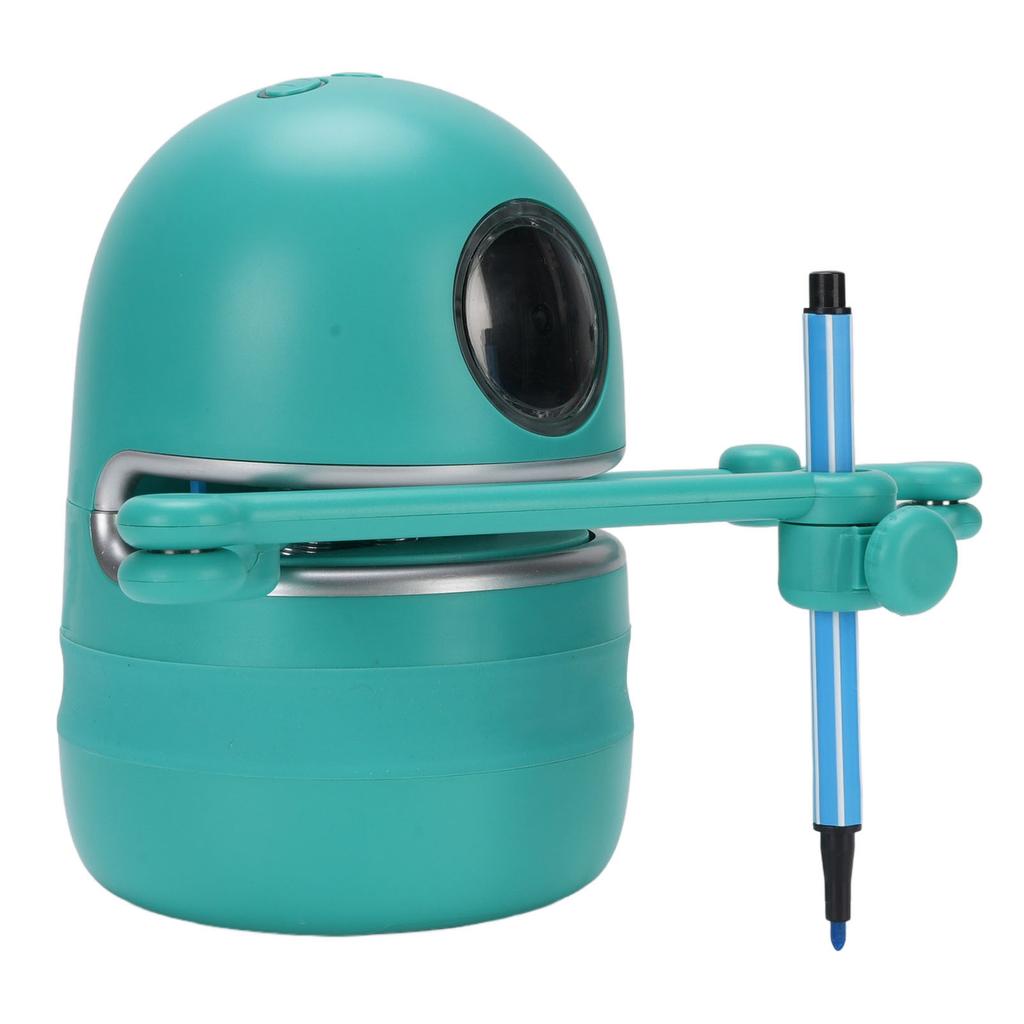
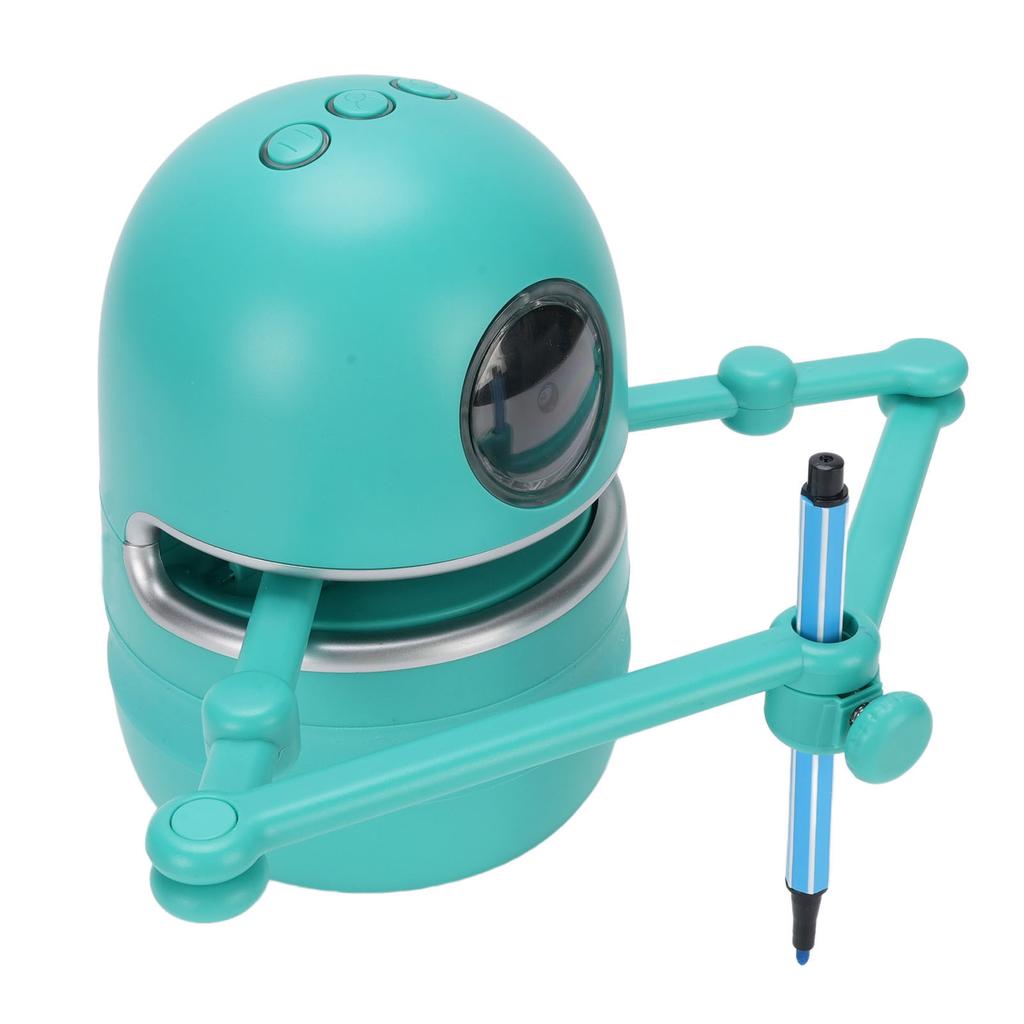
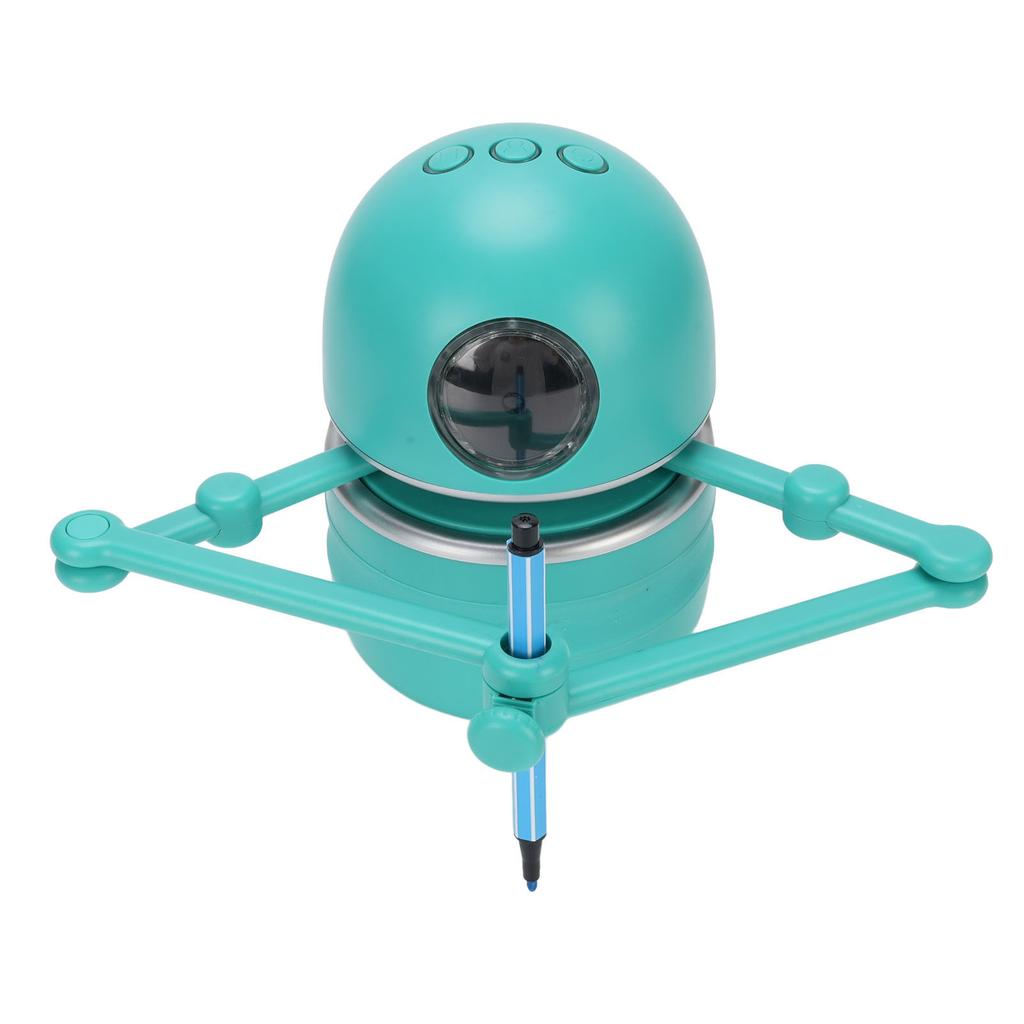
1. Install the robot arm by holding it in place, the magnet will attract the arm to the body.
2. Turn on the robot:
a. Rotate the volume knob to the right.
b. The robot will say Power on and the eyes will light up.
c. The arm will swing left and right to adjust automatically.
Where to Draw:
Place the robot in the middle and top area of the paper.
Tips:
1. Place only 1 3 of the robot above the paper.
2. Use A4 size paper for best results.
Install Pen (Maximum 9mm):
1. Turn on the robot, wait for reset, and follow the voice prompt to install the pen.
2. Place the included pen or any pen with a Diameter less than 9mm into the pen holder, let the pen naturally fall to make touch with the paper, and tighten the screw.
3. Press any knob on the top to complete the installation.
Note: If the pen cannot touch the paper or the drawing is intermittent, slightly lower the pen, usually lowering by 1 to 2mm is enough.
Start Class:
1. Prepare the picture book. Place the picture card (QR code) around 5 cm from your eyes and in the middle of the arm position, scan it to start the class.
2. Follow the blinking indicator light, press knob for further steps.
Tips: Do not move during drawing for professional performance!
3. Follow the voice prompts to begin learning.
.
Package List:
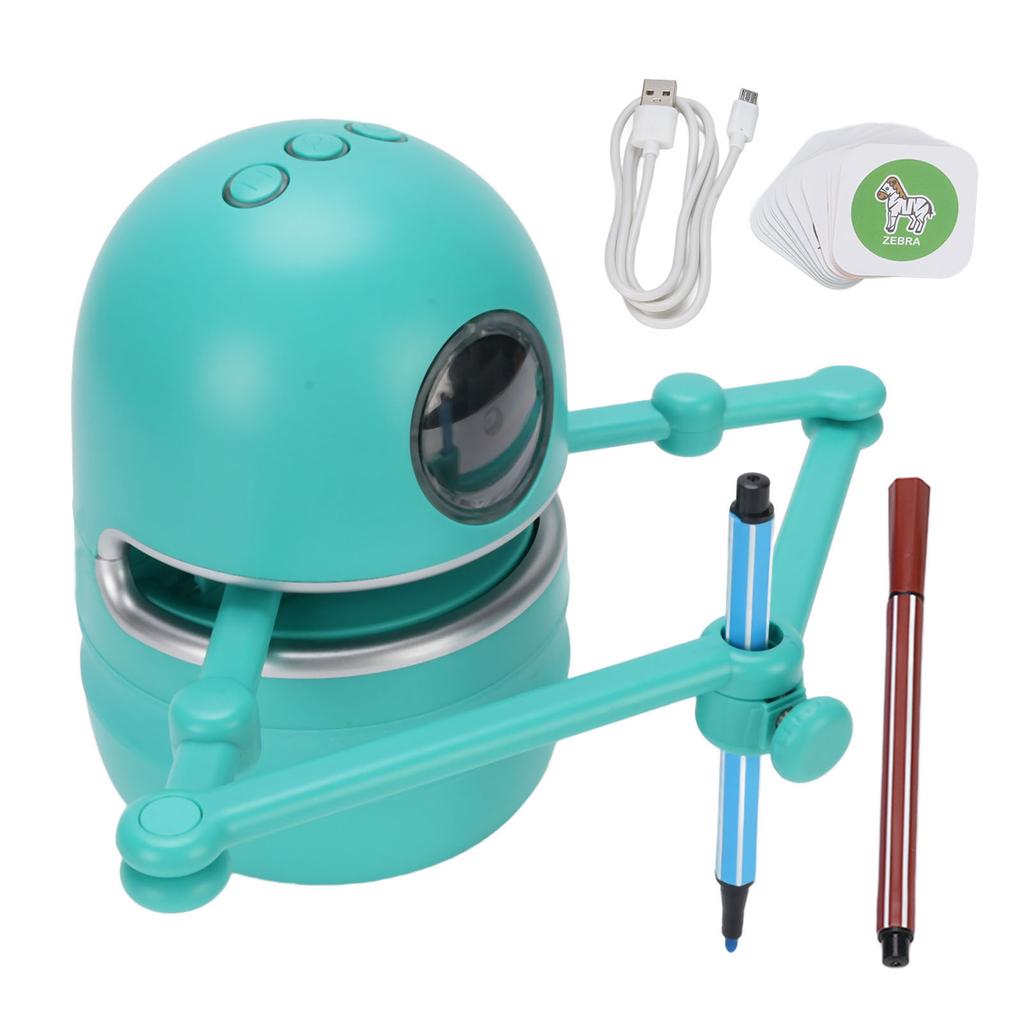
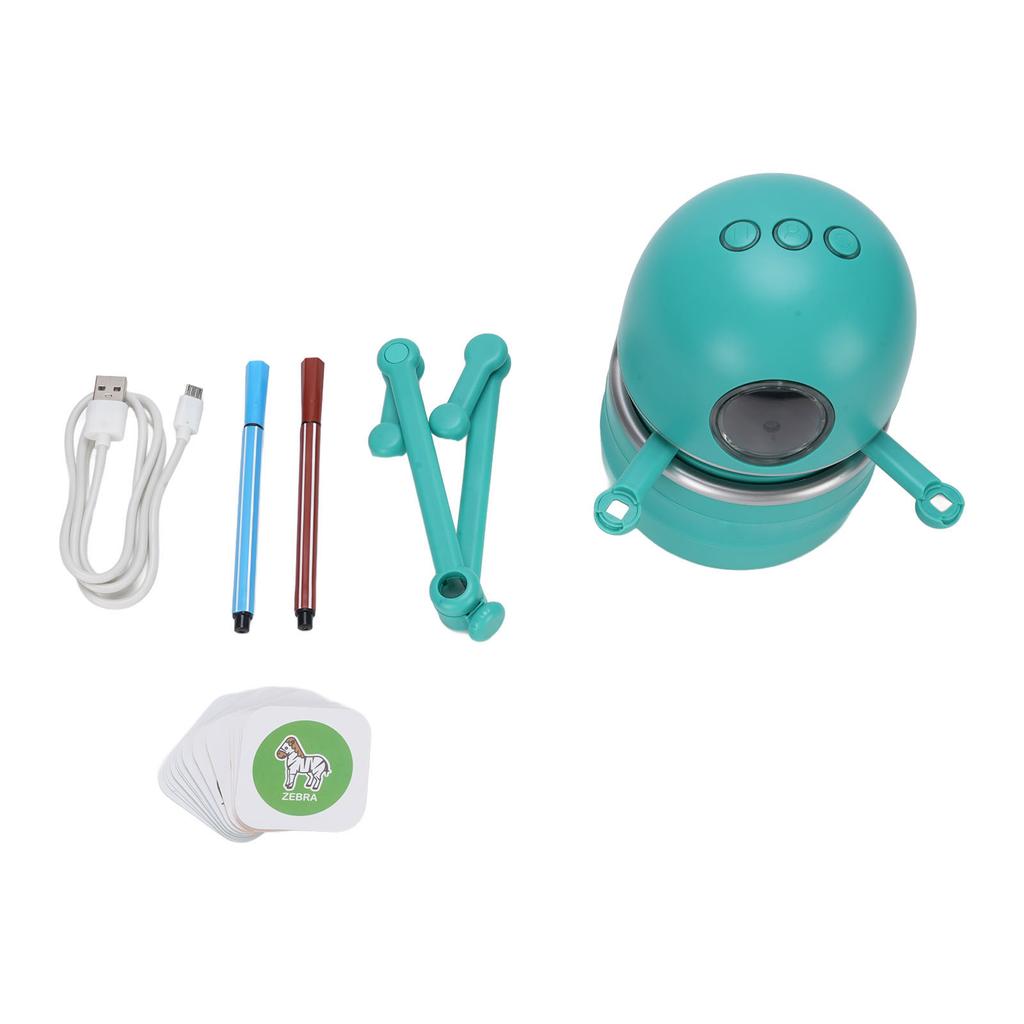
27 x Cards
1 x Main Unit
1 x Arm
2 x Pens
1 x Supply Cord
Note:
Under adult supervision, charging the robot with the attached USB cable. Make sure the robot is turned off before charging.
1. Start charging: Once the USB cable is plugged in, the robot will say charging .
2. During charging, the indicator light will blink.
3. When fully charged, the robot will say battery fully charged . The button indicator light will stop blinking and remain steady.
4. It usually takes 3 hours to fully charging. Please unplug the USB cable after charging is complete.




 No-delivery refund


